zombie bunnies are coming for you (this easter)
Mar 27, 2013 in mary, recipes, bunnies, chocolate, dessert, easter, holiday, zombie. Read the original on: This Tasty Life
This post appears in the What Chocolate Treats Are You Making This Easter? challenge.
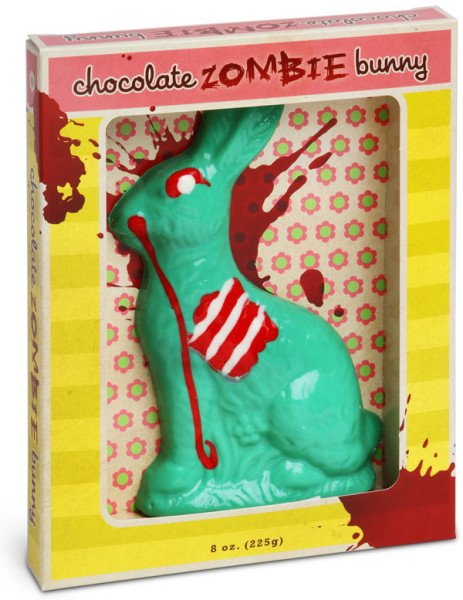
A few weeks ago, I saw this Chocolate Zombie Bunny over at ThinkGeek:
Â
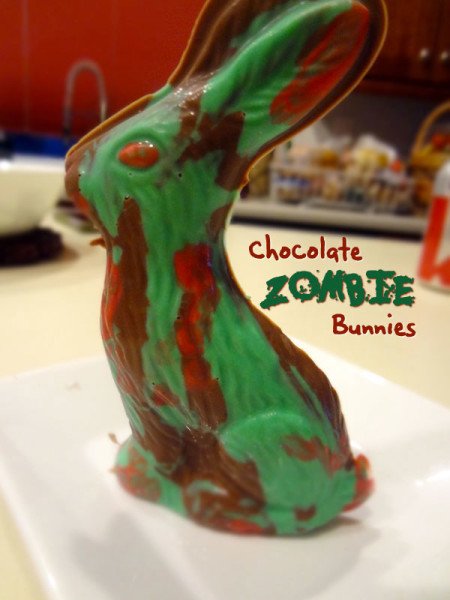
I thought, “Whoa, that’s so cool! I want one!†At the time, it was full price at $14.99 and then I thought, “Pfft, I could make my own zombie bunnies.†So I did:
My zombie bunny is still not fully decomposed yet, but he’s been wrecking havoc with his bitey little bunny mouth. He’s a bad, bad, zombie bunny.
Jake and I are planning on giving these zombie bunny chocolates to his kids for their Easter baskets this year, and I feel a little better knowing just where the chocolate came from and that I made it myself.
I’m also hoping it makes me seem kinda cool. Though I know really I’m just dorky. But that’s okay because I don’t care what anyone says. I think zombie bunnies are rad!
If you think they’re rad, too, I’ll show you how I made them.
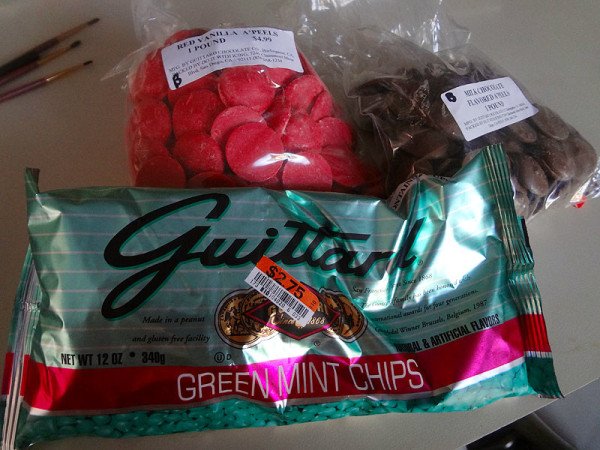
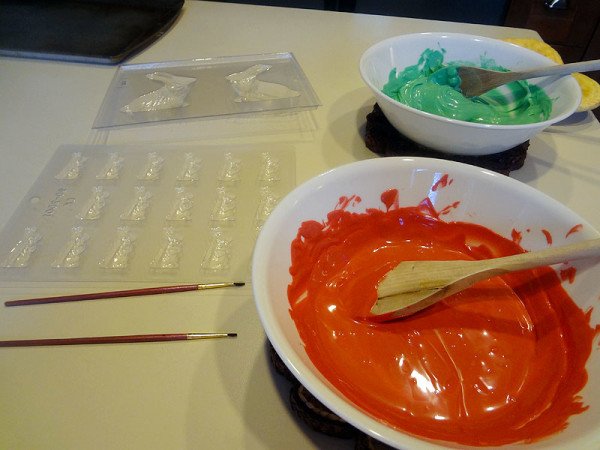
I had some leftover green mint chips from last year, but when I went to Big Lots in Mira Mesa last week, they had the mint chips there for a steal. I also bought a bag of red vanilla a’peels and milk chocolate a’peels (both also made by Guittard – my favorite). The red and milk chocolate disks I bought from Do It With Icing. I also got my two plastic bunny molds there, for $2.49 each.
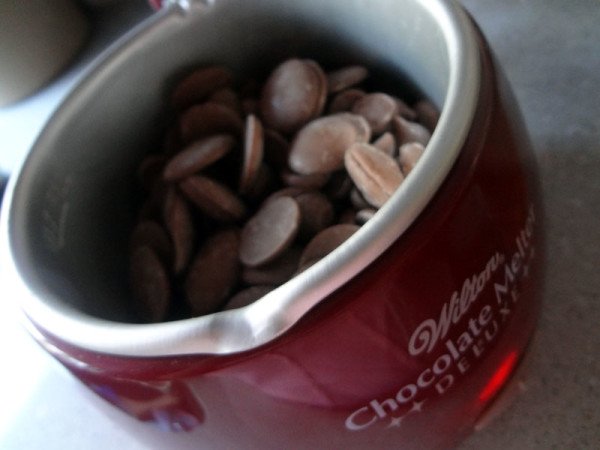
Jake’s mom got me this Wilton Chocolate Melter for Christmas a few years ago. It’s nice because it melts the chocolate and then keeps it warm for you. This was really useful since I didn’t need the chocolate right away and it was nice to have it at the ready.
I melted the red and green over simmering water the usual way.
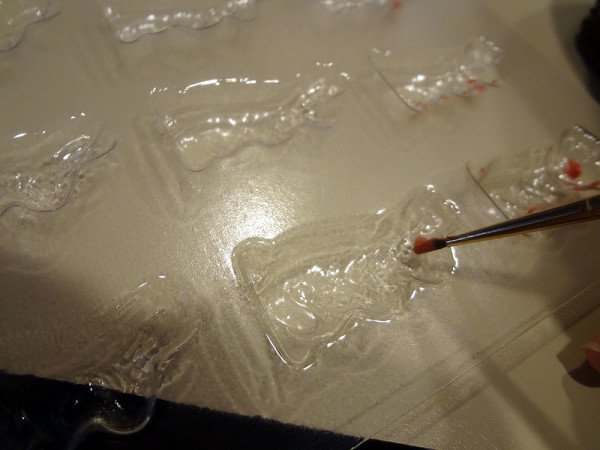
I have a few paintbrushes that I have stashed away that are only used for food so I don’t accidentally poison myself or anyone else I know (always a major plus).
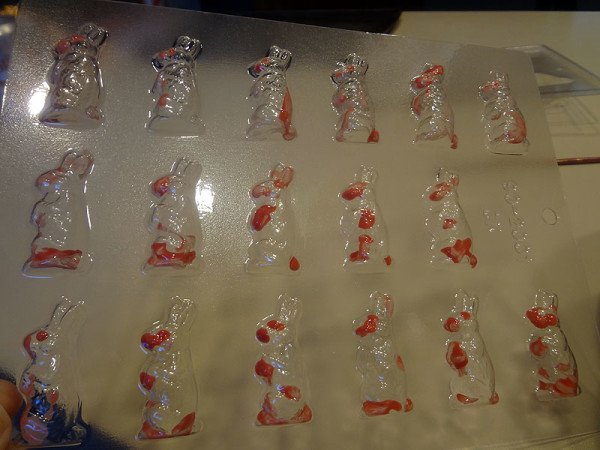
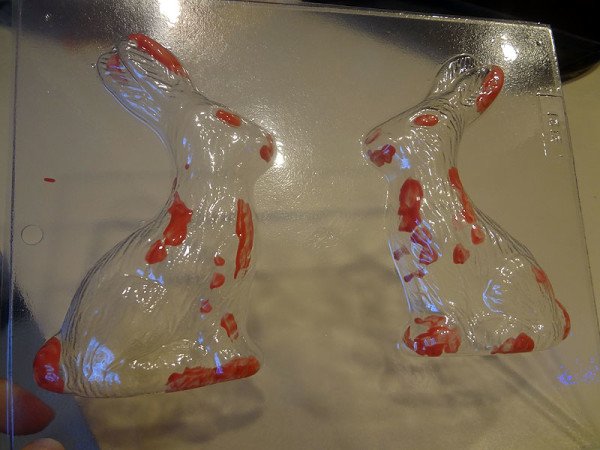
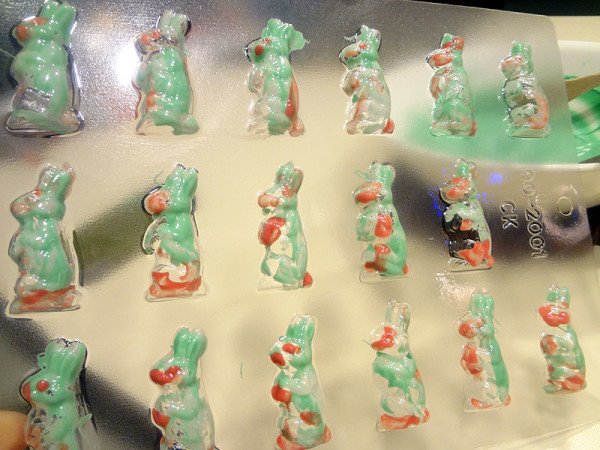
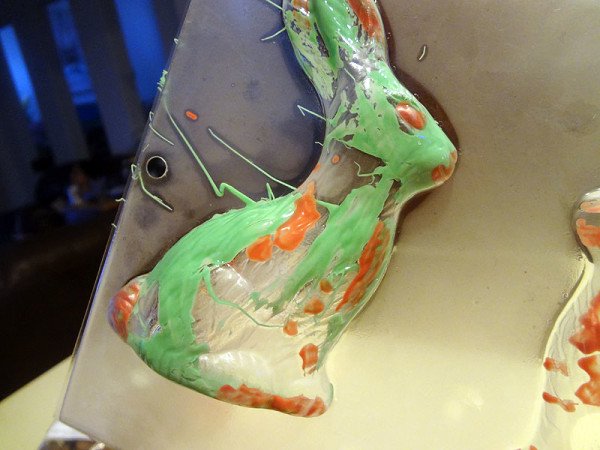
I started out using the red, putting dots of red over the eyes, mouth, paws or ears. The great thing about zombie bunnies? You don’t need to be neat!
Here’s what it looked like after I got done with the mini bunnies.
And the big bunnies.
I popped the molds into the freezer for a couple of minutes before starting again, but this time with the green.
The green was meant to be the “decomposing†part and since I didn’t want them super minty, I again just dabbed it here and there.
Then I filled the molds with a mixture of milk/semi-sweet chocolate. Pop them in the freezer for 5-10 minutes and let them set. Any other way it’ll take forever. Freezer is the quickest way to get this job done.
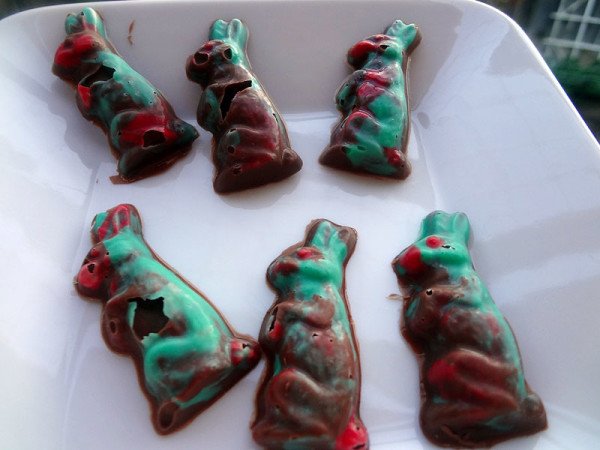
My first batch of mini bunnies had little pockets of air holes in them which I actually thought was kind of cool… it looks like parts of the bunnies have fallen off!
The one on the bottom right is my favorite since the red eye is really standing out and eyeballing me. Creepy.
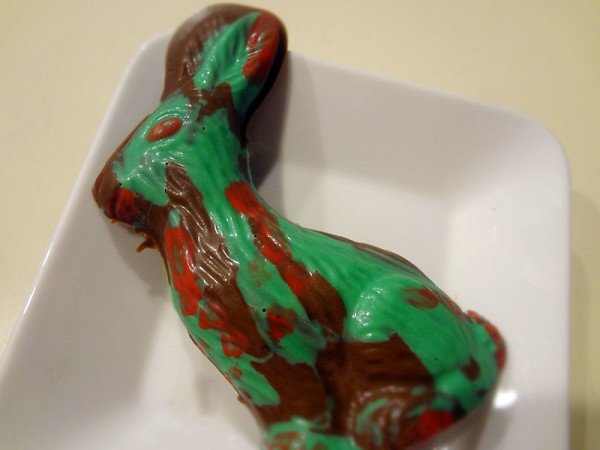
The bigger bunny molds were my favorite though because you can really see more of the detail!
Zombie bunnies want to eat your braaaaaaaains.
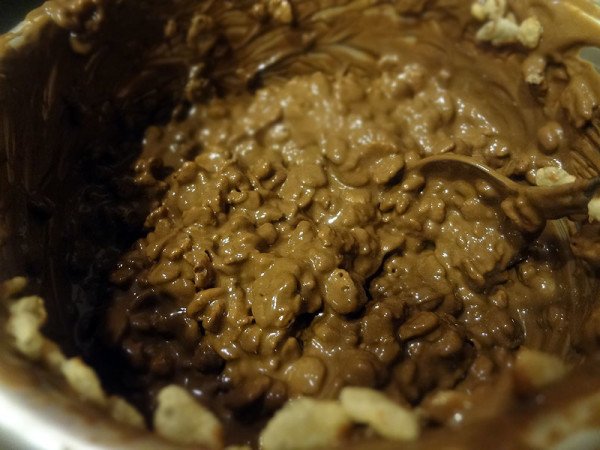
My dad had the brilliant idea for “crispy†chocolate and I added in some rice krispies to the pot. At first, I added them into the mold, but this didn’t do a good job and you could barely taste the crispy stuff. This way, you get a lot more crispy for your buck.
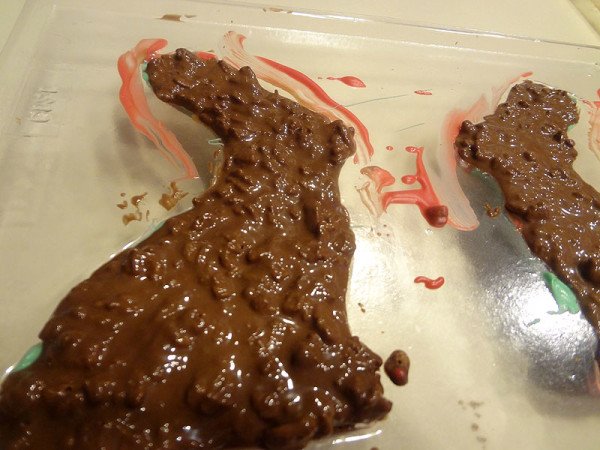
These bunnies are all filled in with the crispy rice chocolate. Mmm, mmm.
I ended up making 8 big bunnies and 34 mini bunnies and I still had a little bit of chocolate to spare. For just a little bit more than the ThinkGeek bunny, I made way, way more treats and I can reuse the molds again next year! Total score all around if you ask me.
I hope this inspires you to make your own chocolates, whether it be for Easter or just for fun!
© mary for this tasty life - a san diego food blog, 2013. |
Permalink |
4 comments |
Add to
del.icio.us
Post tags: bunnies, chocolate, dessert, easter, holiday, zombie
Feed enhanced by Better Feed from Ozh
Read the original on: This Tasty Life
This Tasty Life, Mary Desjean
I love baking and trying out fun and interesting foods in San Diego.
